Disclosure: If you make a purchase through the links posted below, I may receive a small compensation. Read the full disclosure.
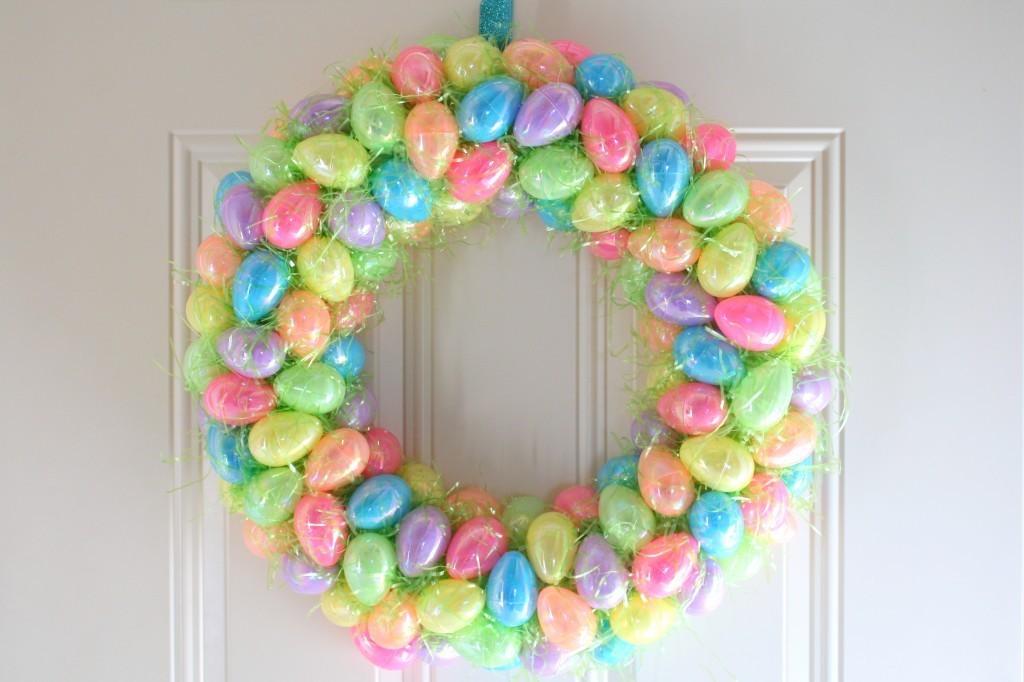
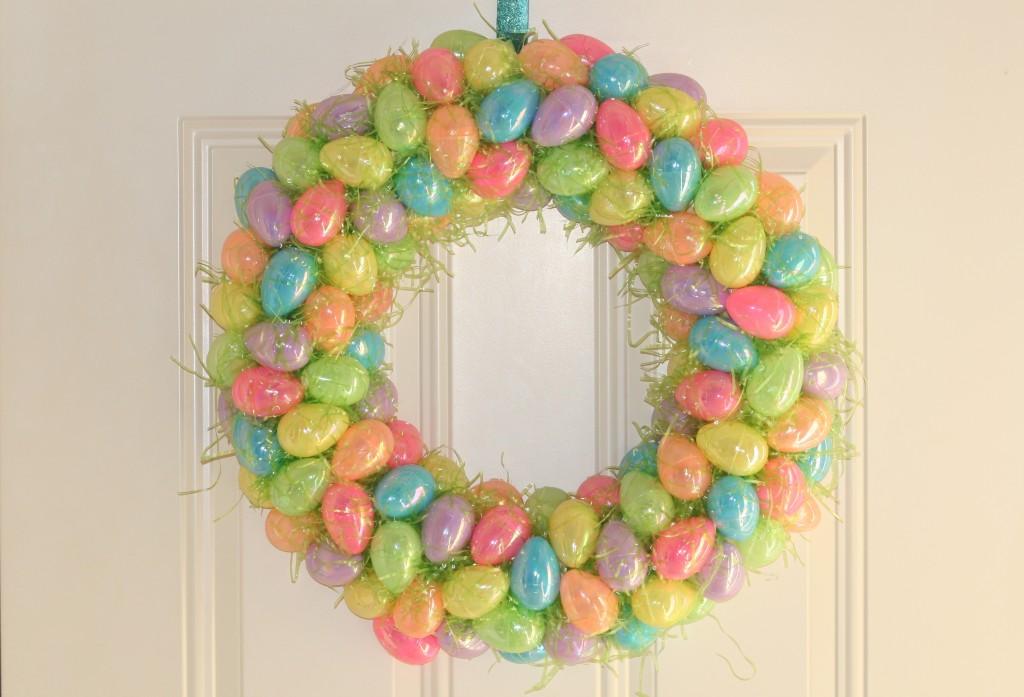
Ever since I saw this wreath on Pinterest, I knew I had to make one. Luckily my mom wanted to make one too and went out and got all the supplies we needed. Want to make one? This is what you will need:
-An 18″ Straw Wreath $4.99. My mom had trouble finding two of these and ended up going to a bunch of different Joann Fabrics’ and Michaels’ and only finding one before finding a second one at Hobby Lobby (they had a ton).
-Plastic Easter Eggs. We used 8 packs of 12. I believe they were around $1.20 a bag? That was the sale price. So figure around $9 for eggs. We bought the shimmery kind, so they cost a little more.
-A bag of Easter Egg Grass. Target – $0.49.
-Got glue gun / glue sticks. I am going to just assume everyone has one of these. If not, you should.
So basically each wreath was around $15. Not bad at all! It could have been cheaper had we used non-shimmery eggs or gotten some on clearance after Easter, but whatever.
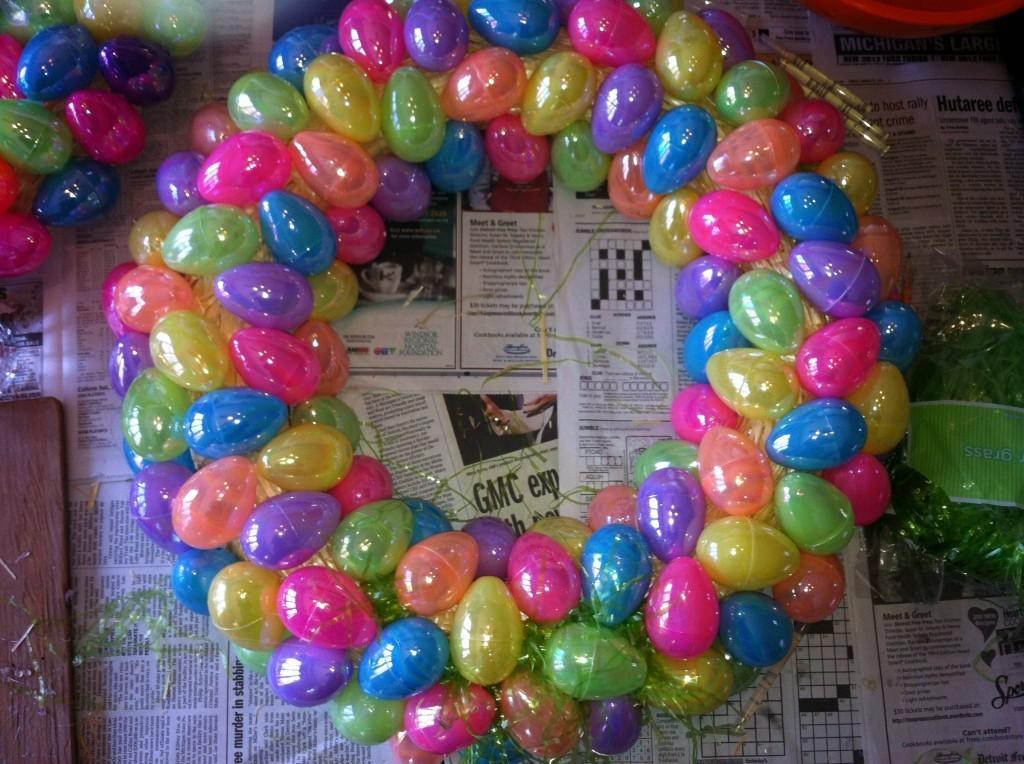
Of course, I forgot to take pictures of most of the steps. Oops. But you can do with without pictures. Trust me!
Step One: Glue all eggs onto the wreath. I started on the inside and just made my way around the circle alternating colors. Then I did the next layer up and so on. I put the eggs in different directions, etc. It looked really bad until I had all the eggs on the wreath. I will admit, I was a tad worried this project was going to end badly.
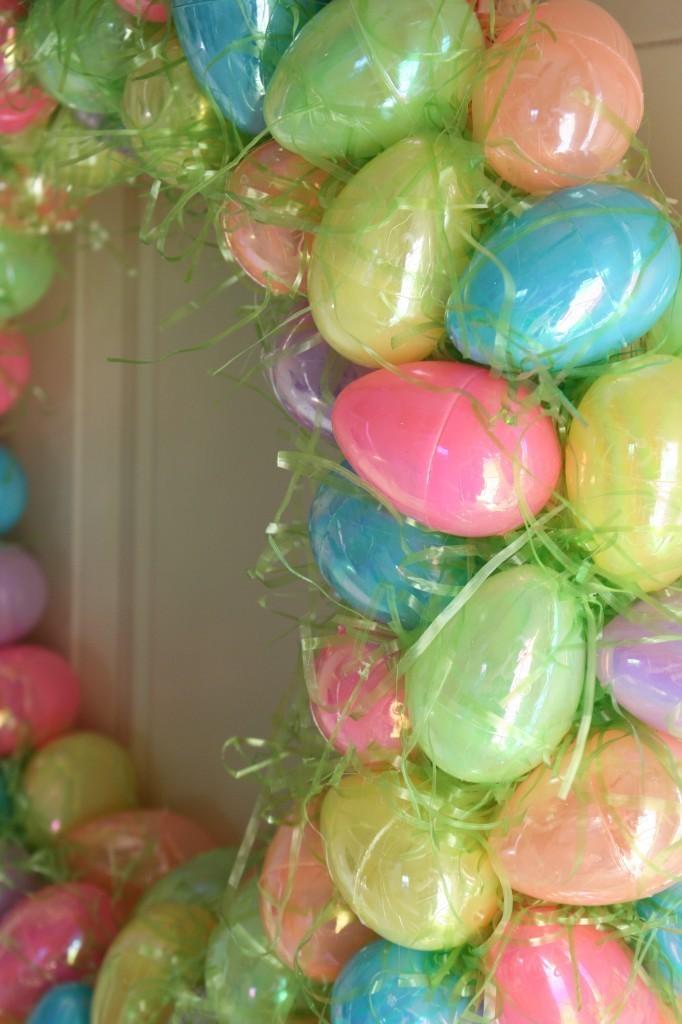
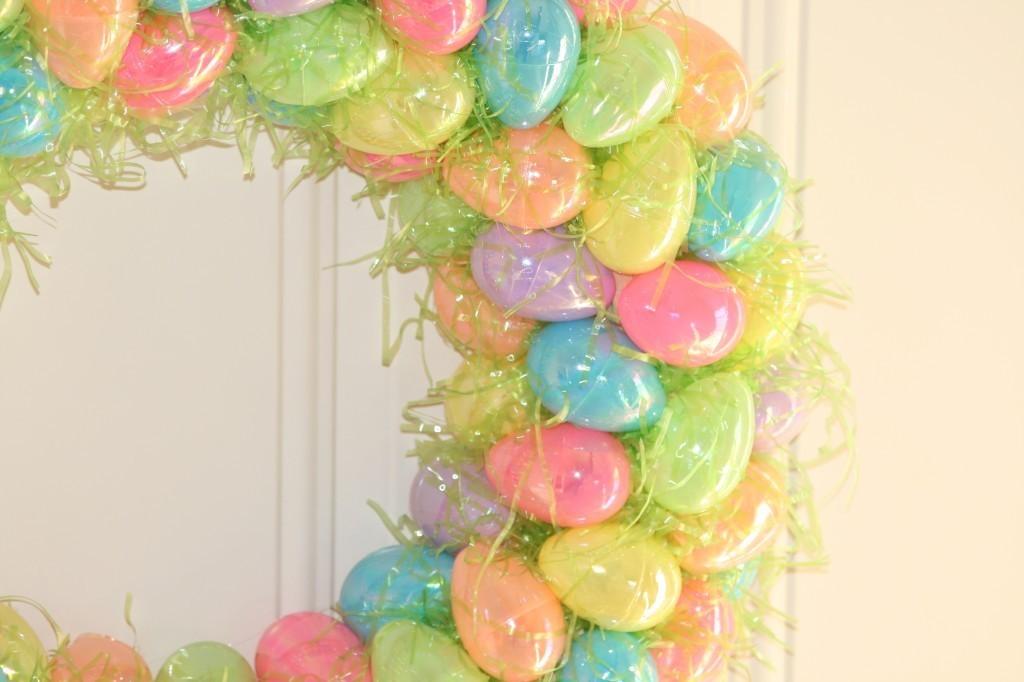
Step 2: This is the pain in the butt part. I put glue in the spaces between the eggs where you could see the straw and stuck grass in there with a pencil eraser. I kind of folded up the grass before I glued it so that I got more coverage. Again I went in a circle and just filled in where I saw straw. After I got all the grass attached, I went around and cut off any grass I thought was too long.
Step 3: Attach a small piece of ribbon. I put mine really close to the top so you can’t even tell what it is hanging from. I just hot glued it on and two minutes later, it was on my door!!
I’d say the project took a few hours. But it wasn’t hard at all. Plus, I think it looks way better than the store bought wreaths! If you make one, be sure to send me pictures! I would love to post them!! Happy crafting!


I want to make this. I’m not crafty at all but i think i can handle this. Its so pretty!!!
You don’t even need to be crafty!! That’s the best part!
You could have used spray glitter too!!
Another good job. Now you will have to start thinking about something patriotic for Memorial Day/Fourth of July.
We already have one in mind!
Love it!
Thanks Cindy!
It turned out gorgeous, so glad you found me on Pinterest!
Thank you! I was so inspired by yours! It looks AMAZING!
I adore this!! I never to around to make a christmas one maybe i’ll have to try an easter one!
xoxo
Stacey
http://fiveminutestyle.blogspot.co.uk/
Ohh, try it!!! I’d love to see how it turns out!
Love this! It looks great!
Thanks!
LOVE THIS! So making it this week!
Wow – I love it! And it really doesn’t look too difficult or too time consuming! I think I may have to make this over the weekend!
I finished mine! It’s not good as your’s but i’m happy with it 🙂
http://fiveminutestyle.blogspot.co.uk/2012/04/lets-get-crafty-diy-easter-wreath.html
xoxo
Stacey
@Stacey: @Stacey: @Linda Lincoln:
@Stacey: where did you buy the shimmery eggs?
@Joan Postle:
I got the eggs from a cheap store here called Family Bargains
I love your wreath. I hope I can find the shimmery eggs , they are soo pretty. Never saw shimmery ones!! Thanks for posting!!
where do you find the shimmery plastic eggs
Where do you buy the shimmery plastic eggs?
Where can you buy the shimmery plastic eggs
This wreath is so beautiful! I’m glad i found this, i am definitely going to make one!! Thank you for posting and giving instructions on how to make it! 🙂
no wonder she stole your photo very cute
Thanks!
I have often heard “Necessity is the mother of invention”, I needed a pencil point for another project….of course there was not a pencil to be had in the house..the only one I found was a flat one (my husband was in construction). I was madly looking through drawers and there it was —–in my cosmetic drawer…..an orange stick (used for cuticles), Suggest you buy a pack,I know I got 4 or 5 in one pack and they were cheap….either Walmart or the Dollar Store, you can scratch the glue off with a pair of your dull scissors or a craft knife or a dull kitchen knife…..Never throw anything away—LOL…happy crafting!!
Pingback: 33 Creative and Fun Easter Wreath Ideas | Guide Patterns
Pingback: Top 25 Diy Easter Egg Wreath - Home, Family, Style and Art Ideas